
Thinking about removing your old window tint but worried about damaging your vehicle in the process? You’re not alone. Whether you're dealing with bubbling film, discoloration, or just want a cleaner, updated look, removing window tint the right way is key to preserving your car’s interior and windows.
At Five Star Automotive Detailing in Rochester, MN, we specialize in everything tint-related, from expert installations to professional removals. We understand the science behind how tint bonds to glass and what it takes to remove it safely, without scratching or damaging your windows.
In this step-by-step guide, we’ll walk you through the safest and most effective methods to remove window tint at home, while sharing expert tips that ensure professional-quality results. Whether you're a DIY enthusiast or just want to understand the process before booking a service, this guide is your go-to resource for clean, damage-free tint removal.
Safety First: What to Know Before You Start
Before diving into window tint removal, it's important to remember that this process involves sharp blades, heat tools, and potentially harsh chemical solvents. Prioritizing safety not only protects you, it also ensures the job goes smoothly without unintended damage to your car.
Here are essential safety precautions to follow:
- Wear cut-resistant gloves to protect your hands from sharp edges of peeling film and utility blades. Even a small slip can cause injury.
- Use safety goggles to shield your eyes from adhesive particles, debris, or chemical splashes during removal.
- Work in a well-ventilated area, preferably outdoors or in a garage with good airflow. This helps minimize exposure to fumes from adhesive removers or ammonia-based solutions.
- Keep a first-aid kit close by in case of minor cuts, scrapes, or skin irritation.
If the job starts to feel overwhelming, or if you're dealing with old, deteriorated tint that’s difficult to remove cleanly, it's perfectly okay to hand it off to the pros. At Five Star Automotive Detailing, we specialize in safe, damage-free window tint removal that protects your glass and leaves your vehicle looking its best.
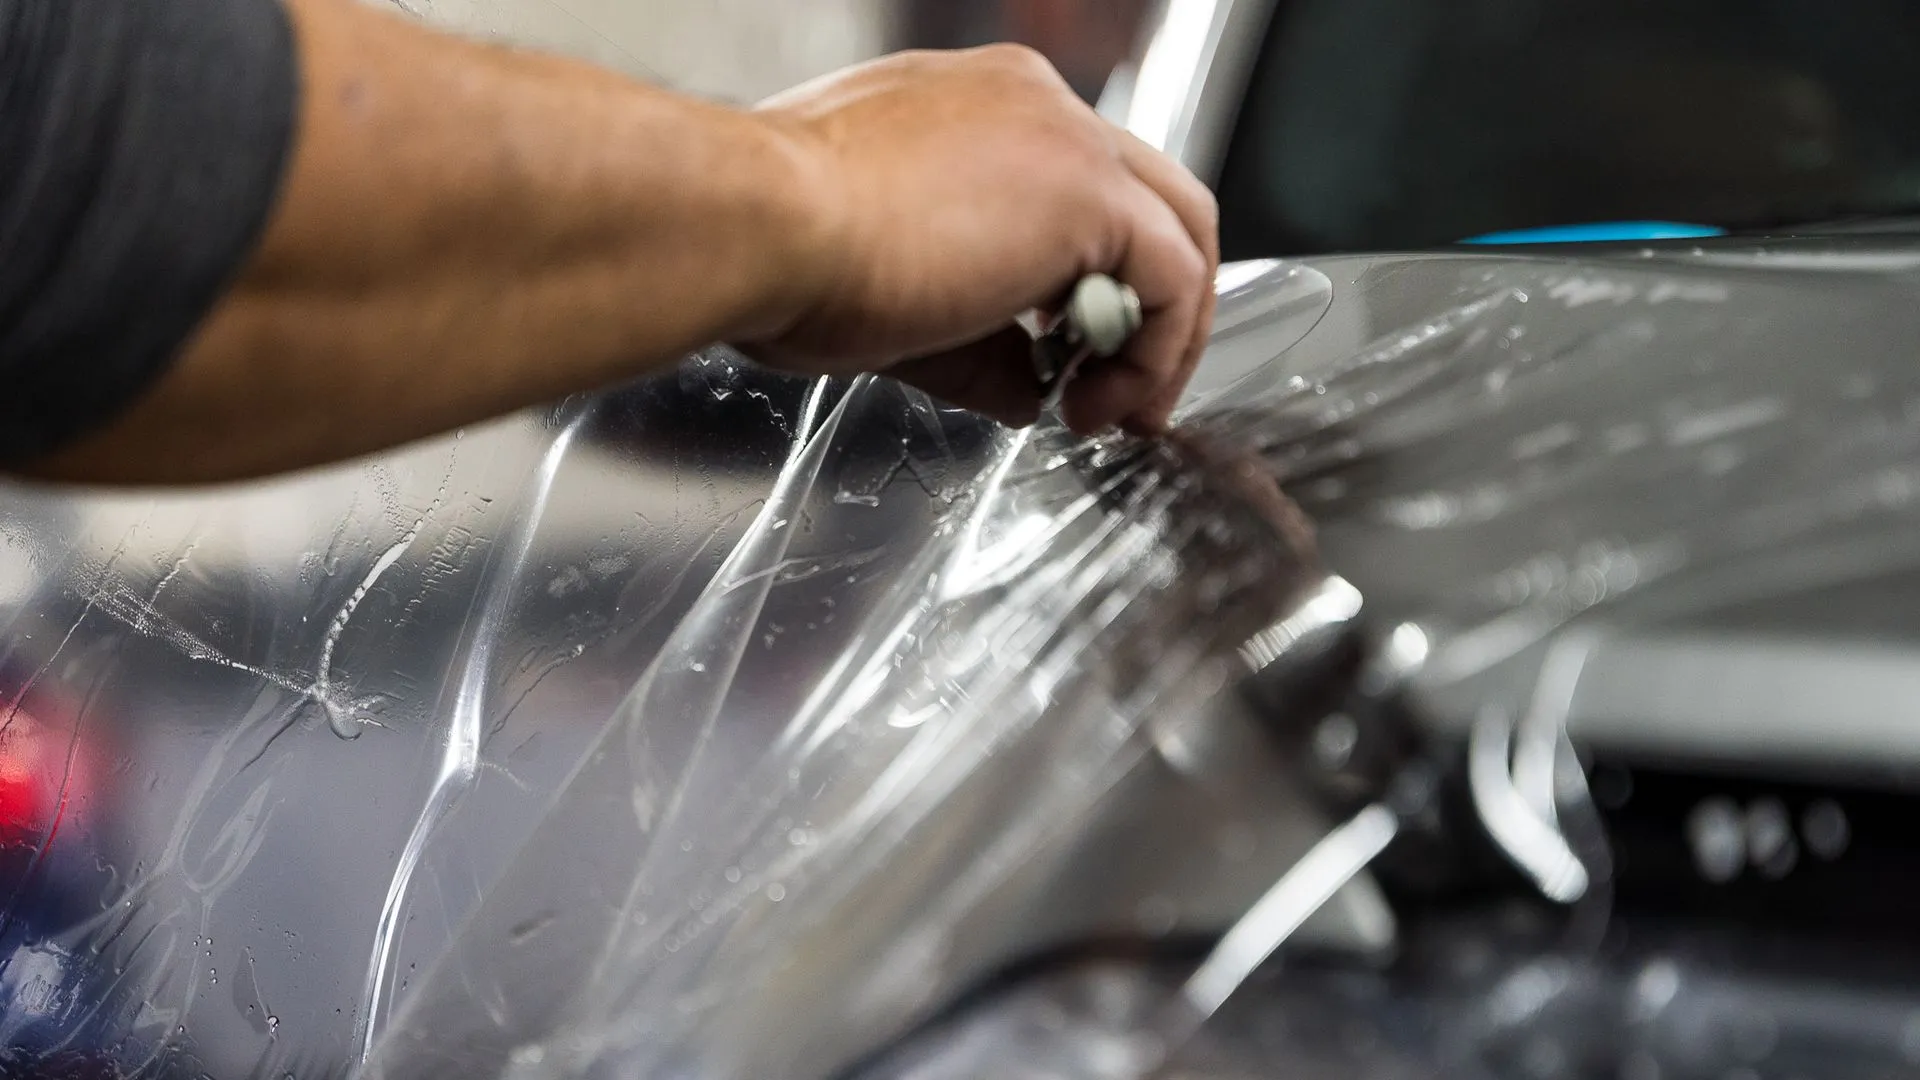
Step 1: Apply Heat with a Hair Dryer or Heat Gun
Heat is your best friend when it comes to softening the adhesive that holds the tint in place.
- Hold the dryer or heat gun 2–3 inches from the window.
- Focus on a corner and
move the device slowly and evenly to avoid damaging the glass.
- Once the film starts to bubble, gently lift a corner using a plastic edge or your fingernail.
Pro Tip: Never yank the film. Continue applying heat while slowly peeling to prevent rips or leftover adhesive.
Step 2: Use the Soapy Water Method
If heat alone doesn’t cut it, combine it with a mild cleaning solution.
- Mix
1 teaspoon of dish soap with 1 quart of warm water in a spray bottle.
- Spray the entire tinted surface and let it soak for 10–15 minutes.
- Carefully peel the tint while spraying more solution to keep the adhesive soft.
This method is ideal for older or sun-baked tint common in vehicles around Rochester, where temperature swings can take a toll on tint durability.
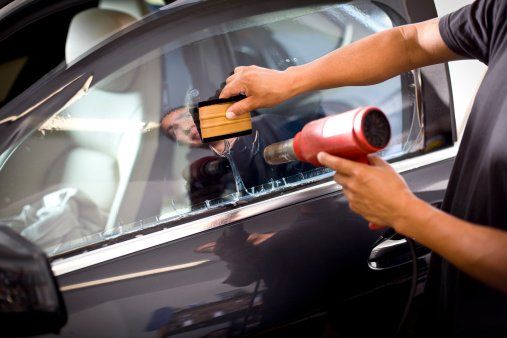
Step 3: Remove Residue with Razor Blades and Scrapers
After peeling, you may be left with sticky residue.
- Use a
glass-safe razor blade held at a 30–45-degree angle.
- Work in
short, light strokes to lift residue without scratching the glass.
- Reapply heat or solution as needed to loosen tougher patches.
Always use stainless-steel blades designed for auto glass to avoid rust and scratches.
Step 4: Tackle Adhesive with a Remover or DIY Solution
For stubborn spots, try a dedicated adhesive remover like Goo Gone, or make your own.
- Mix
equal parts isopropyl alcohol and water (or ammonia and water).
- Spray generously and let sit for 5–10 minutes.
- Wipe with a microfiber cloth or non-abrasive pad.
Avoid scraping too hard. Let the solution break down the glue so you don't damage your windows.
Step 5: Final Cleaning and Finishing Touches
Once the film and adhesive are gone:
- Use
glass cleaner and a microfiber cloth to polish the surface.
- Wipe in a
circular motion to remove streaks and lift any last bits of residue.
- Inspect each window in sunlight to ensure a spotless finish.
If you're planning to re-tint your windows, Five Star Automotive Detailing in Rochester can apply high-quality window tint with clean lines, legal compliance, and lasting protection.
Common Mistakes That Can Damage Your Car During Tint Removal
Even with good intentions, some DIY tint removal methods can end up doing more harm than good. Understanding what not to do is just as important as knowing the proper steps.
Here are the most common mistakes to avoid:
- Using metal razor blades on defroster lines – These delicate lines on the rear window can be easily scratched or severed, leading to costly repairs or a non-functioning defroster.
- Skipping the heat application – Trying to peel the tint without softening the adhesive can lead to torn film, excessive residue, or scratched glass.
- Overusing harsh chemicals – Ammonia or acetone-based cleaners can damage window seals, interior panels, and even tint on adjacent windows that you want to keep.
- Scraping too aggressively – Heavy pressure with a blade or scraper can scratch your windows or gouge trim pieces, especially on side windows with curves.
- Leaving residue behind – Failing to fully remove adhesive can cause visibility issues or problems with re-tinting.
Avoiding these pitfalls not only preserves the integrity of your car’s interior and windows, but also ensures the end result looks clean and professional. If you’re unsure about any step, our experts at Five Star Automotive Detailing in Rochester, MN are just a call away. We remove tint the right way, with precision, care, and zero damage.
When DIY Isn’t Enough, Let the Pros Help
By now, you have a clear understanding of how to remove window tint safely and effectively. With the right tools, techniques, and a bit of patience, a successful DIY job is entirely possible. However, not every tint removal goes smoothly, especially when dealing with older film, baked-on adhesive, or delicate rear defroster lines.
If you find the process taking too much time, the film tearing into pieces, or sticky residue refusing to come off, it may be time to bring in professionals who do this every day.
At Five Star Automotive Detailing in Rochester, MN, we specialize in precision window tint removal and expert installation. Our trained technicians use professional-grade tools and products to ensure your vehicle’s windows are cleaned thoroughly, without scratches, damage, or leftover adhesive. Whether you're planning to restore your glass to a factory-clear look or upgrade to a modern, high-performance tint, we’ve got you covered.
We work with all makes and models and ensure every job meets Minnesota’s legal standards for window tint. From removal to reinstallation, our goal is simple: deliver a flawless, long-lasting finish that elevates your vehicle’s comfort, appearance, and protection.
Ready for a Fresh Start? Let’s Make It Easy.
Whether your old tint is bubbling, fading, or just overdue for an upgrade, removing it safely is the first step toward a cleaner, clearer look. With the right tools and patience, DIY removal can work, but when things get tricky or time-consuming, Five Star Automotive Detailing is here to help.
Our team in Rochester, MN specializes in safe, damage-free window tint removal and high-quality reinstallation. We use professional-grade tools and techniques to ensure your glass stays scratch-free, residue-free, and ready for whatever comes next, whether that’s a factory-clear finish or a brand-new, premium tint.
Don’t risk damaging your windows with trial and error. Let our trained technicians deliver the flawless results your vehicle deserves.
Call us at
507-213-3561 or
fill out the form on our website for a free estimate. We’ll make your tint removal hassle-free from start to finish.